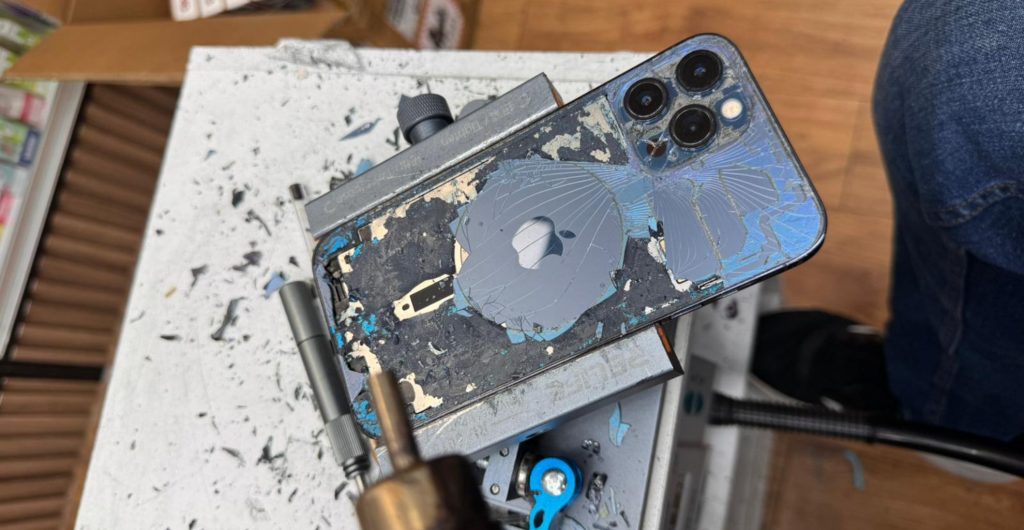
Attempting a DIY iPhone repair can save money and teach valuable skills, but it comes with risks like damaging components, voiding your warranty, or mishandling delicate parts like the digitizer, LCD, or Face ID sensors.
This article covers everything from preparing the workspace, choosing the right tools, and following safe instructions, to understanding costs, trade-offs, and when it’s wiser to trust a professional technician.
We’ll also explore the quality differences between OEM and third-party parts, tips for reassembly, and personal experiences handling screen replacements, batteries, and waterproofing.
Table of Contents
Preparing for a DIY iPhone Repair
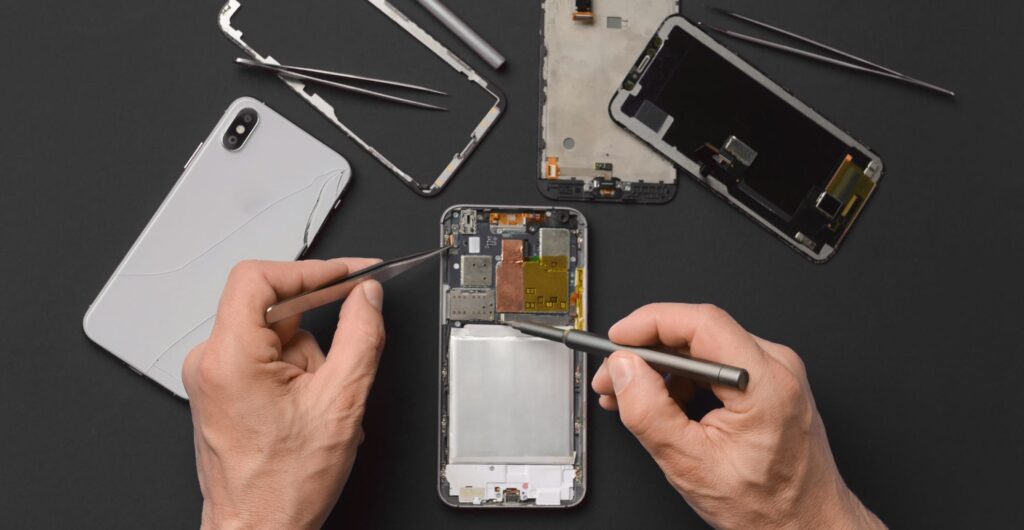
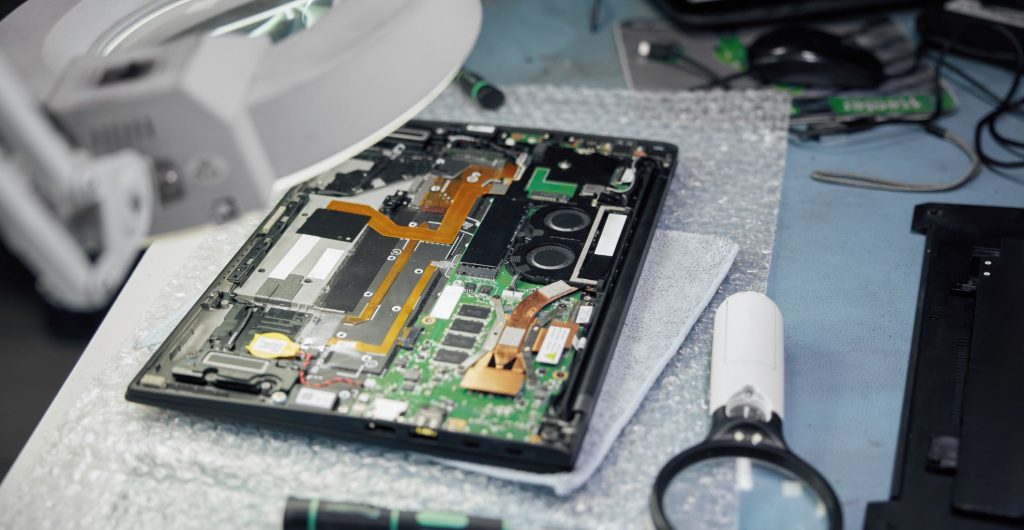
Starting a DIY repair is more than just having a kit from an online store. A successful attempt requires a clean, dust-free workspace, proper lighting, and organization. I usually set up a magnifying lamp and keep microfiber cloths, lint-free swabs, and gloves nearby.
Using trays and labels for screws, pins, and small parts prevents frustration during reassembly.
Essential tools include:
| Tool | Purpose |
|---|---|
| Suction cup | Lifting screen safely |
| Spudger / Pry tool | Disconnecting cables and connectors |
| Screwdrivers | Removing screws in frame and housing |
| Heat gun / Hairdryer | Softening adhesive for display replacement |
| Magnets / Trays | Organizing parts for easy reassembly |
Before starting, always follow precautions: power off the device, discharge battery, and ensure a stable grip to avoid accidental drops or impact damage.
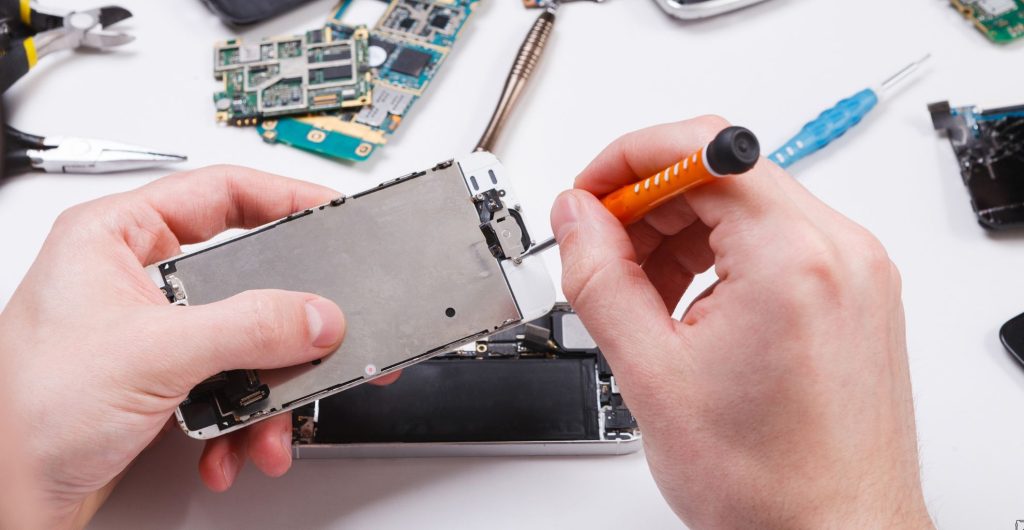
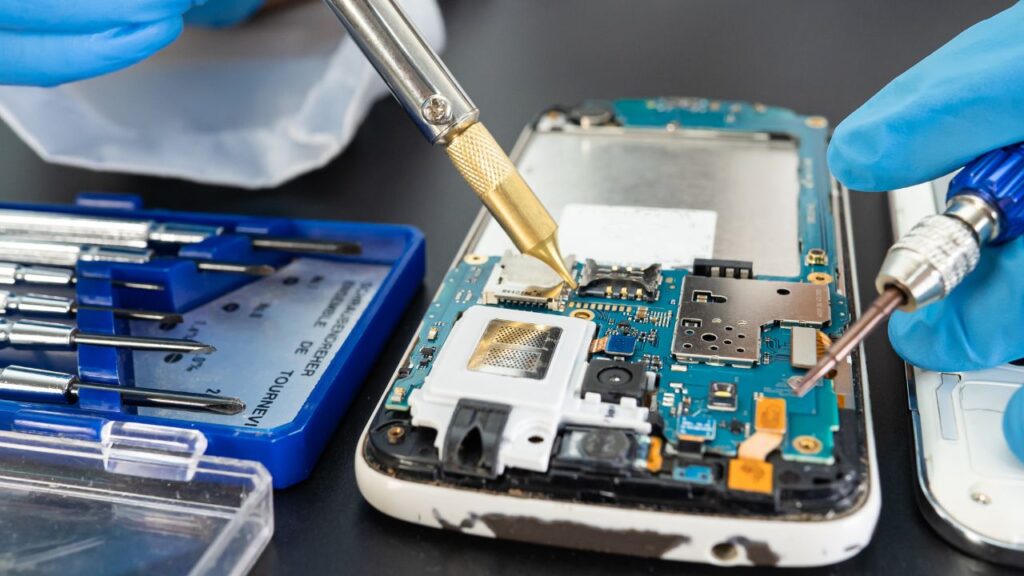
Step-by-Step Screen Replacement Experience
From my personal experience, screen replacement is the most common DIY iPhone repair. Here’s how I approach it:
- Power off the iPhone and remove pentalobe screws.
- Use a suction cup and spudger to lift the glass carefully.
- Disconnect flex cables, Face ID, home button, and sensor connectors.
- Remove damaged LCD or OLED panel while checking for chips, scratches, or hairline cracks.
- Clean debris, dust, and moisture with IPA alcohol and lint-free swabs.
- Install the replacement screen, aligning digitizer, frame, bezel, and connectors for flush fit.
- Test touch, brightness, color accuracy, True Tone, and Face ID before full reassembly.
Tip: Patience is crucial. I’ve seen beginners rush, causing broken sensors or uneven alignment, which is costly to fix.
Pros and Cons of DIY iPhone Repair
Here’s a table summarizing the advantages and disadvantages of DIY repairs versus seeking a professional technician:
| Pros | Cons |
|---|---|
| Cost-effective | Risk of damage to delicate parts |
| Hands-on learning experience | Can void Apple warranty |
| Flexibility with time and pace | Requires skill, patience, and proper tools |
| Immediate repairs at home | Mistakes can lead to additional expenses |
| Option to use budget-friendly third-party parts | Potential issues with touch functionality, brightness, or True Tone |
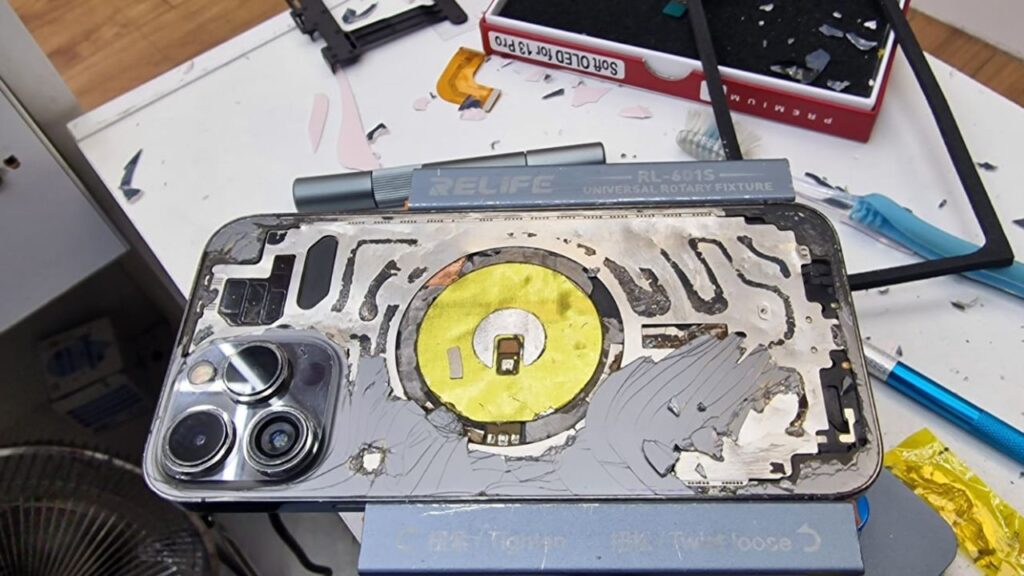
While DIY repairs can save money, the risk factor increases with advanced repairs like battery replacement, camera repair, or waterproofing.
Cost, Tools, and Part Considerations
When deciding on a DIY iPhone repair, consider costs, tool availability, and part quality. Using OEM parts ensures high functionality, durability, and color accuracy, but they are more expensive. Third-party parts are affordable alternatives, though sometimes slightly fragile or inconsistent in touch sensitivity.
Cost Comparison Example:
| Part Type | Price | Quality | Warranty |
|---|---|---|---|
| OEM Screen | £80-£150 | Excellent | Maintains Apple warranty |
| Third-party Screen | £50-£90 | Good | Limited / No warranty |
| DIY Kit (Screen + Tools) | £70-£100 | Varies | No warranty |
Always weigh trade-offs like risk, warranty void, and long-term durability before committing.
When to Seek Professional Help
Some repairs are better left to an authorized service center or an experienced technician. Consider professional help if:
- Face ID or True Tone sensors are involved
- Waterproofing, gasket, or seal issues are critical
- Battery replacement requires safety precautions
- You lack tools, skill, or confidence
Attempting DIY without proper preparation can lead to scratches, chips, broken connectors, or voided warranty, resulting in higher costs than a professional repair.
Personal Tips & Hacks
- Use a kit with labeled trays for screws and magnets for small parts.
- Watch video tutorials on YouTube or follow iFixit manuals step-by-step.
- Keep cleaning supplies handy to prevent dust and moisture damage.
- Take breaks if frustrated—steady hands and patience reduce errors.
- Document the reassembly process with photos to avoid mistakes.
From my experience at Phone Doctor, beginners who follow instructions carefully and maintain a clean workspace usually achieve success on their first attempt, while skipping steps often leads to frustration or damage.